
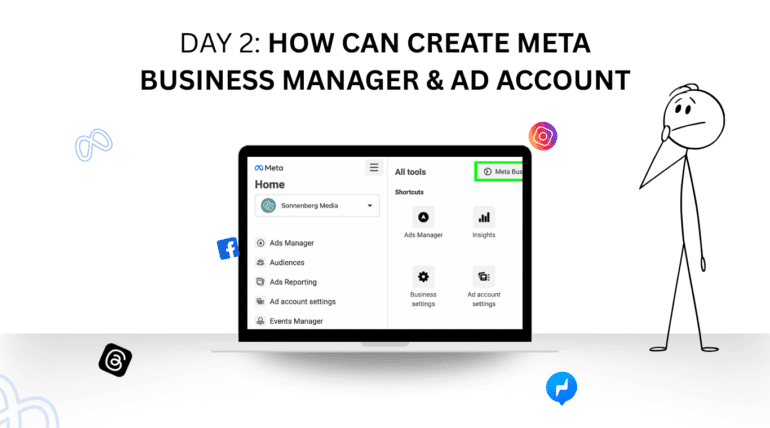
Welcome to Day 2! Yesterday, you learned about the essential Facebook Ads Structure, Campaign > Ad Set > Ad. The foundation of every Meta advertising strategy. But before you can run a single ad, track performance, or scale like a pro, there’s a step you absolutely cannot skip:
Create Meta Business Manager & Ad Account
This isn’t just a formality. It’s the gateway to professional ad tools, brand control, advanced permissions, tracking capabilities, and campaign scaling. Without a Meta Business Manager and an Ad Account, you’re stuck in beginner mode.
Today’s mission is clear:
Create Meta Business Manager & Ad Account, and understand the dashboard. By the end, you’ll confidently say:
“Yes, I did it, and I’m ready to advertise seriously.”
1. What Is Meta Business Manager?
Meta Business Manager is the command center for your brand’s presence on Facebook and Instagram. It helps you manage:
- Your Facebook Pages
- Ad accounts
- People & permissions
- Pixels and tracking
- Instagram accounts
- Catalogs, apps, and more
Think of it as the “HQ” for your business’s digital operations on Meta.
Without Business Manager, you’re limited to “boosted posts” and can’t access full ad capabilities.
2. Why Do You Need a Meta Ad Account?

An Ad Account is where:
- Campaigns are created
- Budgets are set
- Results are tracked
- Payments are made
No ad account = no ads.
You’ll create this inside Business Manager, and it will become your sandbox for testing, scaling, and succeeding.
3. Step-by-Step: How to Create Meta Business Manager
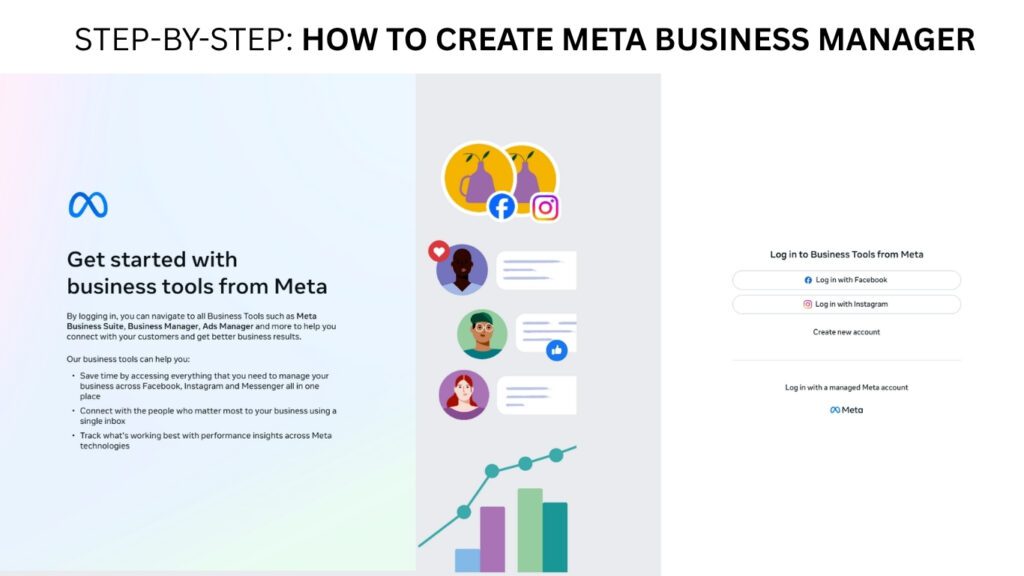
Step 1: Go to Meta Business Manager
Visit: https://business.facebook.com
Click “Create Account”.
Step 2: Fill In Business Info
- Business Name (Use your real or brand name)
- Your Name
- Business Email Address (Preferably official, not personal Gmail)
Click Submit.
You’ll receive a confirmation email. Make sure to verify your email to activate your account.
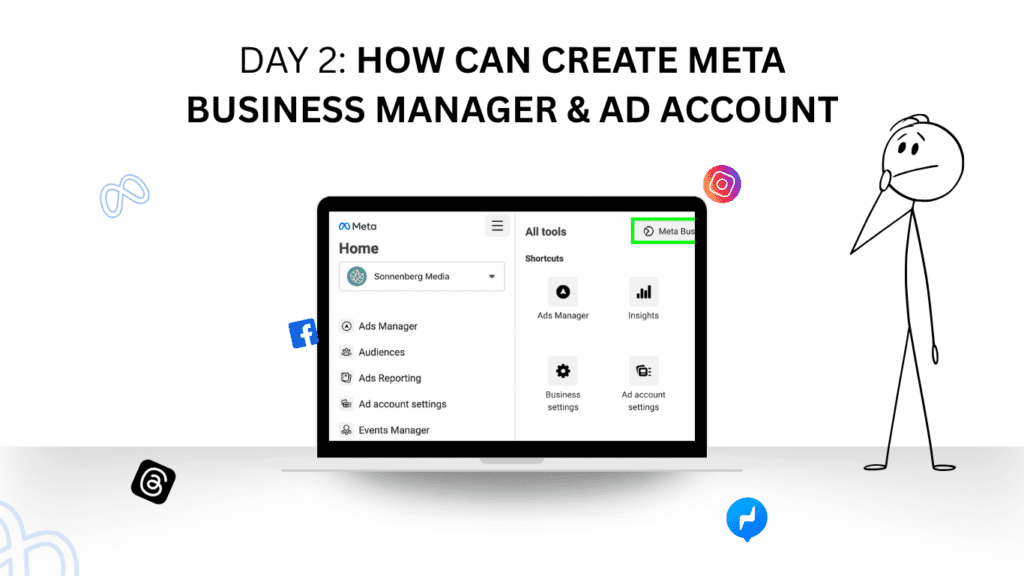
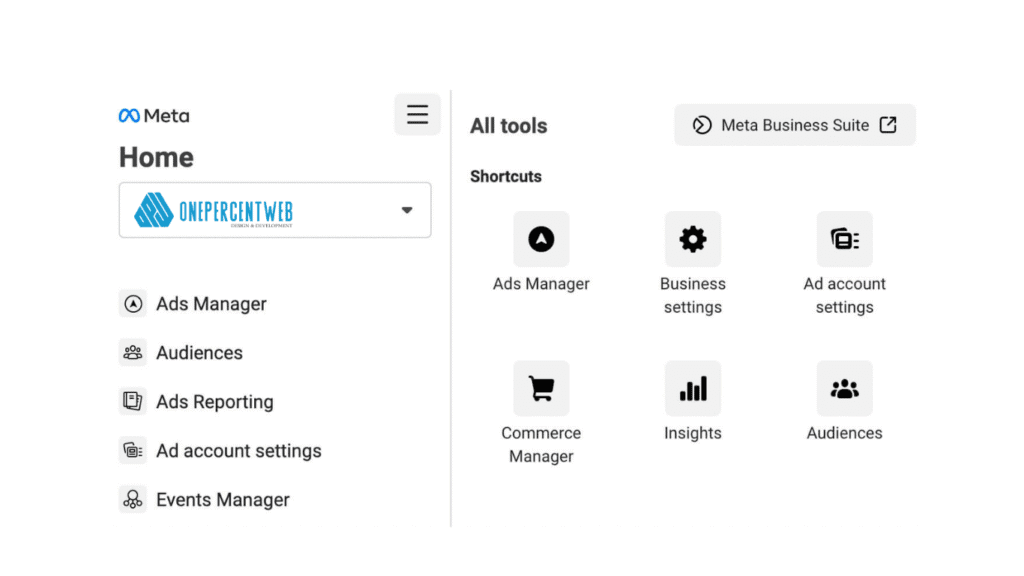
4. Explore the Meta Business Manager Dashboard
Once you’ve logged in, the dashboard might seem overwhelming—but here’s a breakdown of what you’ll see and why it matters:
Key Sections:
- Business Settings (your control panel)
- Accounts → Pages, Ad Accounts, Instagram Accounts
- Data Sources → Pixels, Catalogs
- People → Manage users, assign roles
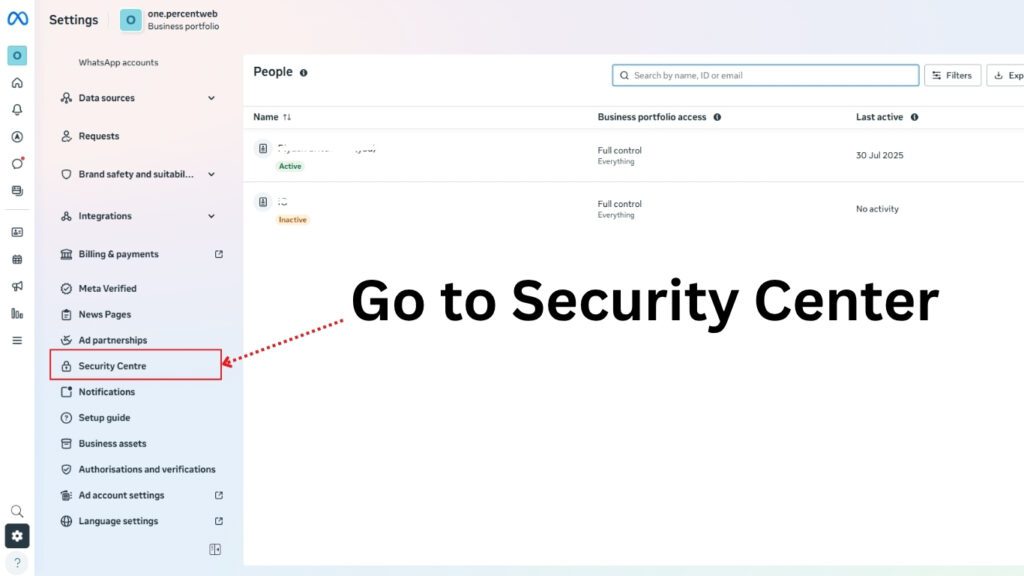
- Security Center → Two-factor authentication, account safety
- Payment Settings → Add cards, billing methods
Start by familiarizing yourself with the Business Settings panel. It’s where you’ll configure everything.
5. How to Create an Ad Account Inside Business Manager
Once your Business Manager is set up, here’s how to create an ad account:
Step 1: Go to Business Settings
Navigate to Business Settings > Accounts > Ad Accounts
Step 2: Click “Add” → Create a New Ad Account
Fill out the fields:
- Ad Account Name (e.g., “BrandName_India_July2025”)
- Time Zone (Set this correctly, it cannot be changed later!)
- Currency (Choose your operating currency)
- Purpose: Choose “For My Business”
Click Create.
Step 3: Assign Access
Assign yourself (and your team, if applicable) as Admin on the Ad Account.
You can always add more people later, but make sure your access is full.
Step 4: Add a Payment Method
Go to:
Payment Settings > Add Payment Method
You’ll be asked to enter:
- Card Number
- Billing Address
- Currency
You won’t be charged until your campaigns start spending.
6. Set Up Business Verification (Optional but Important)
Business verification is often required to:
- Run certain ad types (like political or social issue ads)
- Access advanced features
- Build long-term credibility with Meta
Go to Security Center > Start Verification
Have these ready:
- Legal business name
- Address proof
- Website domain
If you’re an individual or freelancer, you can still operate without verification, but if you plan to scale or work with clients, do it early.
7. How to Add a Facebook Page to Business Manager
To run ads, you need a Facebook Page connected to your Ad Account.
Go to: Business Settings > Accounts > Pages > Add Page
- You can either claim your Page (if you own it) or request access to a client’s Page.
Once added, you can run ads as the Page, access insights, and respond to messages.
8. (Optional) Connect Your Instagram Account
If you’re advertising on Instagram (which you should), connect your IG profile to Business Manager.
Go to:
Business Settings > Accounts > Instagram Accounts > Add
Log in using your Instagram credentials. This links your IG to your Facebook Page and Ad Account.
9. Billing Basics: Understand How You’re Charged
Meta uses automatic billing thresholds:
- You’ll be charged when your ad spend hits a certain amount (e.g., ₹750, ₹2,000)
- Or once a month, whichever comes first
- You can view & download invoices under Billing
Tip: Set a spending limit to prevent unexpected charges
10. FAQs: Meta Business Manager & Ad Account
Q1: Can I use Facebook Ads without a Business Manager?
Yes—but only for simple boosted posts. Business Manager unlocks full professional capabilities.
Q2: How many ad accounts can I have?
By default, 1. After consistent use and payment history, Meta may let you add more.
Q3: Can I run ads from my personal Facebook profile?
Technically yes—but it’s not recommended. Business Manager keeps your personal identity separate and gives you better control.
Q4: Do I need a Facebook Page to run ads?
Yes. All ads are run from a Facebook Page or Instagram profile.
Q5: Can I delete an Ad Account?
No. Once created, you can’t delete an ad account—but you can stop using it or disable it.
Q6: What if I’m an agency or freelancer managing multiple clients?
Create one Business Manager and request access to their Pages and Ad Accounts (instead of creating new ones for each client).
11. Real-Life Example: Freelancer Setup
Let’s say you’re a freelancer managing ads for clients.
Here’s what your structure might look like:
- Business Manager: Priya Digital Agency
- Ad Accounts:
- Client1_Leads_India
- Client2_Ecomm_US
- Pages Added: Client1 Page, Client2 Page
- Instagram Accounts: Both clients’ IGs linked
- Payment Methods: Client cards on their own ad accounts
This keeps everything organized, safe, and separate.
12. Naming Conventions (Highly Recommended)
Stay organized from Day 1. Use consistent naming across:
Business Manager:
- YourName_BizMgr or BrandName_Official
Ad Account:
- BrandName_Region_Objective_Month
Page:
- Name that matches your business & domain
This makes reporting, permissions, and scaling way easier.
🧪 13. Practical Exercise for Day 2
By the end of today, do this:
Create your first Ad Account
Add a Facebook Page
Add a payment method
(Optional) Connect Instagram
Explore the Business Settings dashboard
💬 Say it with pride: “Yes, I did Create Meta Business Manager & Ad Account.”
🧭 14. What’s Next on Day 3?
Now that you’ve set up the infrastructure, tomorrow’s focus is:
👉 Install the Meta Pixel on your website, so you can track performance, build audiences, and optimize for conversions.
📌 Final Words
Creating your Meta Business Manager & Ad Account is the gate that opens the world of professional advertising. It separates hobbyists from pros. It gives you control, visibility, and power.
Don’t rush it. Don’t skip it. And don’t let it intimidate you.
Take 30–60 minutes today to set everything up properly. From here on out, your ads will be running on a solid, scalable, and secure foundation.